Pictures
This page gathers some miscellaneous screenshots from the game, including the odd bizarre rarity.
A floating tank?
This is a rather strange pic. There were a few enemy units on a bridge. I was systematically destroying the middle section of the bridge with a couple of cruisers, and when it finally collapsed all the units died, except this one tank which fired upon my cruisers. He couldn't move, but he was certainly floating on the water.
A bridge too strong
Opening shots. Why won't it break? Tried dynamite?
Often in games there is some kind of bug which stops bridges being destroyed. In this co-op game, Commander Eamon Johnson found that this particular bridge across the Rhine was indestructible (much like the Ludendorff Bridge in fact), and he tried everything to destroy it, to no avail. Even an atomic bomb proved too weak to cause any damage, though that's no surprise.
A D-Day campaign
The map shown here is the 'Diamonds Aren't Forever' mega map (thanks to Kristian Reinertsen for reminding me of that). Anyways, I was being utterly beaten by all the AI allied against me, so I withdrew to the gemfield island in the middle, destroying the bridge as I went. I was thus safe to observe the AI and build my invasion forces. Establishing a base was a lengthy process at first since the island was completely gem-filled and I had to force fire upon my own ore trucks to remove enough gems to get a base built. After a while I had an army assembled and was able to land a unit as a test. As soon as that unit hit the ground, all AI teams sent everything they had to that spot. And as you'll see from the screenshots, that's a lot of men and equipment. My cruisers spent the best part of an hour shelling them into oblivion, and then it was time for Overlord... D-Day eat your heart out.
The 'Isolation' map is good to use if you fancy recreating similar events. See the Maps page.
Miscellaneous pics
- Soviet Base: Here's a pic of Stu's base.
- Bombardment: Artillery take out some power plants.
- V2 Barrage: A small formation of V2s fire at a Construction Yard.
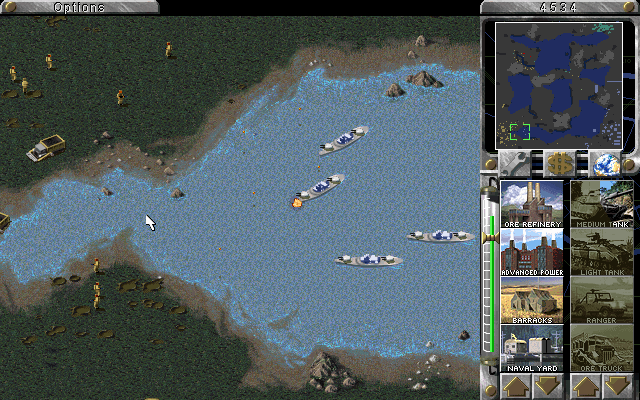
- Sea Power: Four Cruisers en route to shell a base into submission.
- Death Bay: The aforementioned action commences.
- Spring Awakening: A small Panzer detachment pitted against numerous enemy forces (look at the radar map).
- Mig Attack: Two Migs swoop in for the kill.
- Wooded Combat: Fighting intensifies in the woods, as trees catch fire and a Mammoth is engaged.
- Forward Simon: Commander Simon Challands unleashes his blitzkrieg against the pinks (look at that fireball).
Got any pics yourself? I am happy to display them here. See the help on taking a screenshot in Red Alert if you are unsure on how to do this.